
Tips from the Professionals - Preparing teak strips for bonding
by Jake Kavanagh 2 Jun 2019 07:00 EST
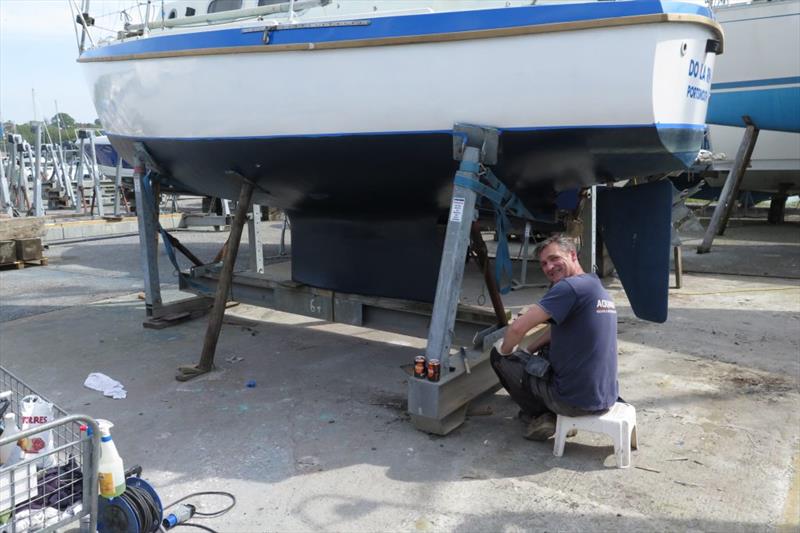
Mark at Aquamarine Ltd works on all types of boat projects, from budget weekenders to superyachts © Wessex Resins & Adhesives
Here's a tip for preparing a teak plank for a small-scale project such as a cockpit table. It could work just as well on a complete deck. Mark at Aquamarine Ltd uses it whenever he wants to bond teak to a substrate rather than physically attach it with screws.
Mark uses WEST SYSTEM® Epoxy widely. He works on all types of boat projects, from budget weekenders (pictured) to superyachts. He is based on the UK's central South Coast.
These are Mark's tips for ensuring the oily nature of teak does not allow it to release prematurely from a bond.
You need to remove as much of the surface oil as possible. Use WEST SYSTEM 850 Cleaning Solvent and a clean cloth to purge the oil and any other contaminants from the surface. Allow the solvent to flash off completely evaporate until the wood is bone dry. The solvent is very effective but quite heady. Ensure you wear a mask and gloves and have good ventilation.
Mix up some WEST SYSTEM 105 Epoxy Resin with 205 Fast Hardener at the correct ratio (5:1). Roll it into the teak and make sure you push it right into the fibres of the wood. Teak is a close-grained timber, so doesn't readily soak up coatings.
Cut a piece of WEST SYSTEM 774-1 Peel Ply. This woven, nylon cloth is cost effective and disposable. The red lines act as a useful guide, especially when cutting strips for planking.
Place the peel ply over the wet epoxy, keeping it as straight as possible and flattening out any kinks.
Roll more of the mixed epoxy on top, aiming for full saturation. There should be no white patches on the peel ply. The whole thing should be an even colour to confirm complete wet out.
Once the epoxy has cured the peel ply will pull off easily. It will take any amine blush with it.
The result will be a teak plank whose underside is nicely sealed and 'keyed' with a recessed pattern with no need for any further preparation. You can see the comparison between the untreated teak (little finger) and the prepared teak (index finger). Where there was a kink in the peel ply (above index finger), the epoxy has been unable to form the pattern. A few small kinks won't matter but always aim for an even, flat covering of ply. The plank is now ready to be bonded onto a bed of WEST SYSTEM G5 Epoxy or a WEST SYSTEM 105 Epoxy Resin and 205 Fast Hardener mix thickened with WEST SYSTEM Epoxy 423 Graphite Powder to help emphasise the seams.
Find your nearest stockist: wessexresins.co.uk/en/buy
See more stories and tips at epoxycraft.com/category/blog