Make Navigation Safer with These Custom 'Chart Marks'
by John Jamieson on 9 Jun 2012
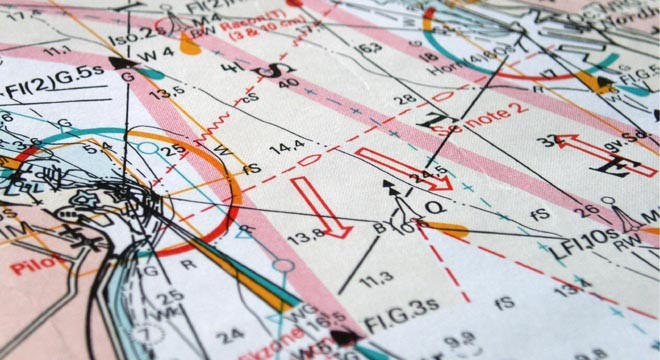
When the light is bad and time is short, annotations can make life easy and safe SW
Do you find it difficult to read your navigation chart at night or in rainy sailing weather? Wouldn’t it make things easier to highlight dangers, anchorages or lighted buoys along your sailing routes? John Jamieson (Captain John) here gives some practical tips about how to make your navigation easier and safer when the light is bad and time is short.
NOAA nautical charts or British admiralty charts contain a hefty supply of nautical chart symbols. Make coastal navigation easy with custom marks—or annotations—so that the most important ones stand out.
Annotation Tools Needed:
* #2 pencils
* long straight edge (parallel rules, protractor)
* ¾' transparent tape
* fine tip permanent felt tip marker
* yellow, orange and dark blue highlighters or colored pencils
Tape Over Chart Scales:
Add life to you nautical charts when you tape them. Needle points from dividers or drafting compasses can poke holes into Latitude and Longitude scales. This causes the chart to wear faster over time. Use a transparent tape that can be written on to cover the scales along each edge of the chart. That way, your scales are still easy to read, can be marked with a pencil or pen and erased without marring the chart, and your costly chart will be protected from holes from navigation tools.
Accent Your Sailing Route:
Use this same technique to save wear on sailing tracks or routes. Draw a light pencil line of your sailing tracklines. Double check your work. Tape over the tracklines. Use a fine tip laundry marking pen along with your straightedge to trace the tracklines on top of the tape. Pencil in the magnetic course above and speed on bottom of the track line. Now, your tracklines will stand out nice and bold and the chart will be protected for longer wear.
Circle Buoys or Lighthouses:
Tape over significant lighted buoys, light structures or lighthouses. Then, circle each structure with your felt tip marker. This makes the aid to navigation stand out in dim light. To add clarity, add another strip of tape and write down the main features of the structure.
For example:
* 'Buoy 16 – Quick flashing red'
* 'Light 21 – Flashing 4 second green'
* 'Cape Lookout Lighthouse – Flashing white every 15 seconds
Mark Emergency Anchorages:
Look for deep water pockets along each side of the trackline. Highlight the abbreviated sea bottom type within each pocket. Here are common bottom types you will see on nautical charts. (Note: sea bottom abbreviations are always italicized on a nautical chart)
Cl = clay
Co = coral
Grs = grass
Hd = hard bottom
K = kelp
M = mud
Rk or Rky = rocky
S = sand
Sh = shells
So = soft bottom
Highlight Dangerous Shoals:
Highlight all shoals within 2 miles on each side of the sailing trackline. Use the dark blue highlighter or combine dark blue and yellow for a deep green shade. Never use red markings on a nautical chart. This color disappears under a red night light. Choose magenta--a purplish shade of red used on nautical charts. Now your navigation will stand out under white or night light!
Use these techniques to customize your navigation charts for easier, safer coastal navigation. Keep things simple so that your sailboat crew can see at-a-glance what lies ahead on the sailing route.
John Jamieson (Captain John) with 25+ years of experience shows you the no-nonsense cruising skills you need for safer sailing worldwide. Visit his website at www.skippertips.com for a free issue of the highly popular 'Captain John's Sailing Tips' newsletter. Discover how you can gain instant access to hundreds of sailing articles, videos, e-Books and more!
If you want to link to this article then please use this URL: www.sail-world.com/98231