Standing Rigging Checks - the vital checklist
by John Jamieson on 24 Sep 2011
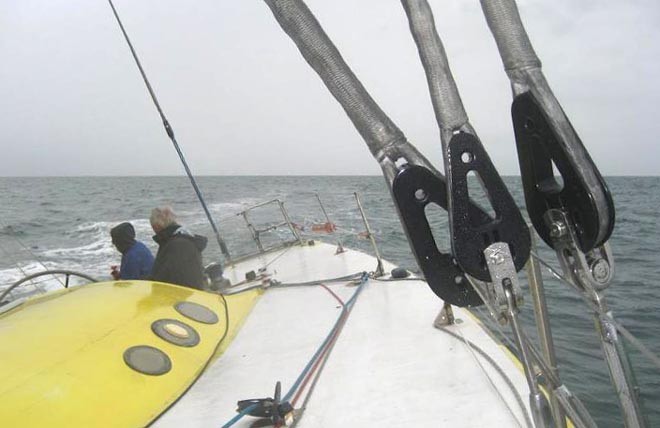
Standing rigging can be subject to enormous loads SW
Could you name the single most important standing rigging fitting to check each time before you set sail? John Jamieson (Captain John) here shows you the most vital rigging checks you need to make aboard your cruising sailboat for trouble-free cruising.
Sailing Rigging Inspection Checklist:
Just as pilots of aircraft large or small wouldn't think of taking off without their standard checks, neither should the competent skipper. Put these five inspections on your sailing checklist to keep your sailing rigging strong and secure.
1. Shroud and Stay Cotter Pins:
Cotter pins are those nautical bobby pins that hold your standing rigging together. Cruising sailboats can have dozens of these vital fasteners. Look for cotters in the ends of the stays, shrouds and the headsail furling drum.
Often, cotter pins on sailboats are shaped and trimmed the wrong way. In some cases, they may be missing. Cotter legs should be shortened--not bent back against the cotter body. You must be able to remove a cotter pin fast in an emergency. Follow these easy steps:
How to Size a Cotter Pin
a. Use cotter that fits snug into the hole of a clevis pin.
b. Shorten the legs to 1½ X the diameter of the clevis pin.
c. Spread the legs 25-30 degrees.
d. Dab the ends with silicone.
e. Do not tape over cotters--this prevents inspection.
2. Loose Shackle Pins:
Slippery stainless steel shackle pins have a nasty reputation of backing out of shackle jaws. This can result in a lost mainsail or Genoa halyard, block failure, or cause your anchor rode to part.
The photo shows a turning block we found while delivering a yacht offshore. Its pin had backed out about halfway and was being held in place by a mere sliver of screw threads. A plastic wire tie solved this problem fast and easy. Carry a bag of long, thin plastic ties. Mouse (lash) the pin to the shackle body to keep shackle pins in place.
3. Lifeline Integrity:
Turnbuckles or pelican hooks form the end of your lifelines. All turnbuckle ends must have cotter pins. Pelican hook ends must have the bail secured over the hook to prevent failure. Tape over the bail for added security. If your lifelines have lock-nuts, tighten those against the turnbuckle body.
4. Turnbuckle Sleeves:
Look for bent or cracked turnbuckle sleeves. Check that all clevis pins, toggles, and swaged end fittings have cotter pins. Make sure you can see 3/4' of the thread on each side of the turnbuckle sleeve.
5. Running Rigging Chafe:
Check for chafe where the headsail sheets attach to the clew. Look for wear on mainsail or headsail halyards. Inspect traveler, boom vang or mainsheet block lines for chafe. Replace worn lines.
Look inside the headsail furling drum for knots or snarls. Check furling line chafe between the drum on the bow and furling line cleat in the cockpit. Replace chafed furling line right away.
Keep an eye on clew reefing lines for wear and chafe. These lines take on enormous loads because they have to serve as downhaul and outhaul lines when you reef the mainsail. Replace worn leech reefing lines before they have a chance to fail underway.
John Jamieson (Captain John) with 25+ years of experience shows sailing skippers the skills they need for shorthanded sailing success. Visit his website at www.skippertips.com and sign up for a free sailing tips newsletter and learn how you can gain instant access to hundreds of sailing articles, sailing video tutorials, sailing topic eBooks, and live discussion forums.
If you want to link to this article then please use this URL: www.sail-world.com/88840