How to resuscitate a dunked outboard
by Bob Wonders on 8 Jul 2009
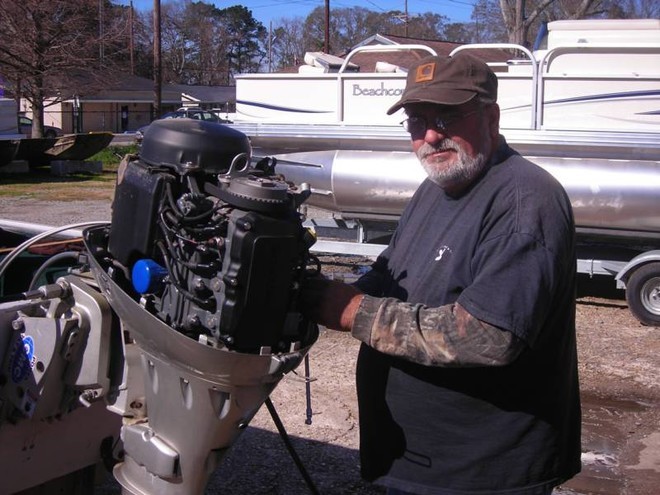
He may not be a trained outboard technician, but this old timer knows what he’s doing to bring his outboard back on line. SW
Outboard manufacturers have achieved high standards for durability and performance across the range of small outboards these days.
By ‘small’ I’m referring to the 2hp through to 25hp ‘egg beaters’, but these same engines are the ones most likely to experience time underwater; in small inflatable craft, tiny ‘tinnies’ and dinghies a wave over the stern can easily lead to a dunking.
Often, attaching such an outboard to a small craft can lead to a case of ‘butter fingers’ and one engine taking the deep six to the sea bed.
When that happens, do not despair; dunked engines are easily resuscitated and you don’t need to be an outboard technician to handle the task.
Take for example the numerous 25hp outboards used throughout the Surf Life Saving Association on the rescue ‘rubber duckies’ – these engines regularly get swamped, but are invariably back in service almost instantly.
Our friends at BRP, manufacturers and distributors of the legendary Evinrude outboard engines, have even published a manual showing the right way to bring a dunked outboard back to life.
Titled the ‘Roll Over Re-start Procedure’, this handy instruction manual lists 13 step-by-step rules to follow when an outboard engine is swamped or recovered from the sea bed.
This is the proven and accepted route to follow;
1: Wash down the engine completely with fresh water
2: Remove the carburettor drain screw or cold start primer hose from the nipple at the bottom of the carburettor bowl. Also remove the primer hose from the nipple at the top of the carburettor bowl.
3: Remove the spark plugs.
4: Isolate the ignition system simply by disconnecting the rubber plug on top of the cylinder head.
5: Lay the engine on its back, with spark plug holes downwards and crank the motor at least 20 or more times or until water no longer drains from the spark plug holes.
6: Position the engine upright and pour about a tablespoon of fuel/oil mix into each spark plug hole.
7: Hold thumb over spark plug hole and again crank engine about 20 times.
8: Squeeze primer bulb to flush carburettor.
9: Refit spark plugs and carburettor drain plug or primer hose to the nipple at the top of the carburettor.
10: Operate cold start primer to purge water from hoses and then reconnect primer hose to the nipple at the top of the carburettor.
11: Displace moisture from all electrical components using a de-watering fluid or spray such as WD 40 or CRC.
12: Reconnect the four-wire rubber plug on top of the cylinder head.
13: Restart the engine and run under load at three-quarters to full throttle for at least 30 minutes.
There you have it, the ‘good oil’ from the experts.
Follow this relatively simple procedure and it is guaranteed you will again have an outboard buzzing happily along.
Two points are worth emphasising; regarding step #1, don’t be mean with the fresh water.
Give the engine a really good wash down, the more water you use the more good it is likely to do.
Likewise, with step #11, be liberal with the de-watering fluid or spray.
It’s well worth remembering that fresh water and a can of de-watering fluid will remain your engine’s best mates throughout its life span.
Always do the right thing by your engine and you’ll be surprised just how much punishment these little two-strokes can handle and still come up purring.
If you want to link to this article then please use this URL: www.sail-world.com/58739